Insane Hydraulics
Bold and audacious blog about fluid power
Normal and, therefore, "hydraulically challenged" people (or "normies", as many readers of this blog call them), when confronted with the abbreviation "PC" think of:
a) Personal Computer,
b) Portable Computer,
c) Pocket Computer,
and, maybe
d) Pepsi Cola.
"Hydraulically advanced" individuals, on the other hand, when confronted with the same two letters think of Pressure Compensation in the first place, and only then recall that "normies" use the same letters to name their gadgets and soft drinks.
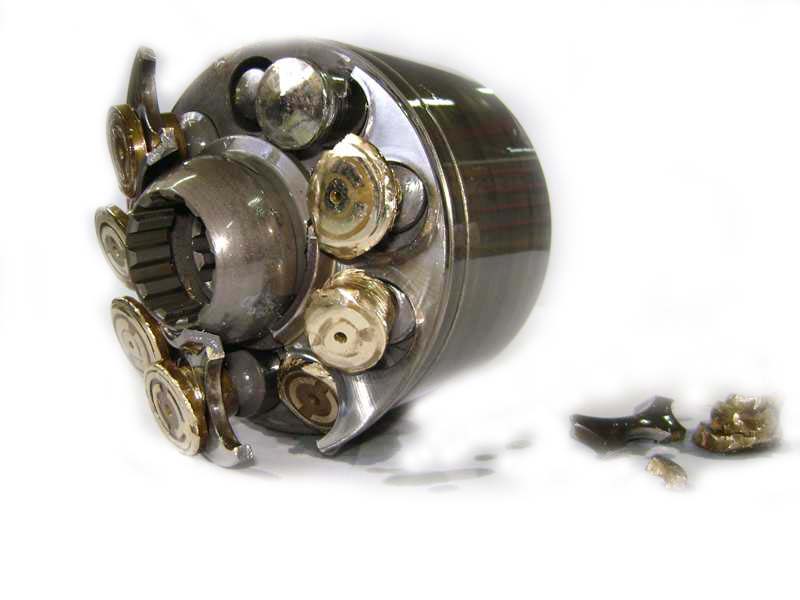
There are pressure compensated controls (controls, that automatically adjust something in response to changes in pressure) for everything in present-day industrial hydraulics, so the topic of pressure compensation is endless, and in this post I'll take but a small "bite" and address the PC controls of variable displacement motors used in hydrostatic transmissions.
A simple pressure compensated control of a variable displacement hydraulic motor functions as follows - the motor starts at minimum displacement, and when the load-induced pressure reaches the compensator setting, the control increases the displacement, reducing the speed and increasing the torque/pressure ratio. In other words, this type of control allows the motor to automatically adapt its displacement to the torque demand. This is a very useful feature for hydrostatic drives because it allows the vehicle to be fast in plain terrain (low displacement = fast speed, low torque), and to have enough "force" to go uphill (high displacement = low speed, high torque), functioning as an infinitely variable automatic gearbox.
Common options of pressure compensated displacement controls may include:
- Override option (hydraulic or electric) - for situations when we don't want our vehicle to go fast, and put our drive motor into maximum displacement by supplying pilot pressure or an electric signal. A reverse type of control is also possible - when the motor starts at maximum displacement and goes into the "auto-fast" mode (pressure compensator function ON) when pilot pressure or an electric signal is supplied.
- Brake pressure defeat option - for making sure that the PC doesn't swivel the motor to maximum displacement during braking or moving downhill (the situation when the motor becomes the pump) and cause an abrupt deceleration of the vehicle or the prime mover over-speed. When a PC motor is equipped with this option, it uses a directional control valve to choose a distinct line as the high-pressure reference for the given direction (as opposed to a simple shuttle valve, which would always "choose" the line with the highest pressure) - in this way the PC is not affected by the pressure rise in the opposite line during braking. The brake pressure defeat spool can be hydraulically piloted by the servo-pressures of a closed-loop pump, or it can be operated by a solenoid.
- Feedback spring option - the use of a feedback spring in the servo-mechanism allows the control to "stretch" the high-pressure zone where the displacement transition takes place. For example, the Rexroth A6VM HA2 control requires a 100 bar pressure increase over the PC threshold setting to go from minimum to maximum displacement.
All variable displacement motor manufacturers produce motors with variations of this control. For example - Rexroth A6VM HA1 and HA2 controls, Sauer Danfoss series 51 PC control, the good old Linde BMR, as well as the newer HMR-02, Parker V12 (V14) AC, AH and AE controls, Eaton BAV motor PA and PB controls (not sure if there's one of these here in Portugal...), and so on. Despite different designs, all of these controls pursue the same goal - automatic displacement selection to guarantee the optimum speed and torque delivery in all regimes.
When the PC threshold is set incorrectly, you end up with a vehicle too slow, when the threshold is set too low, or experience a "hill-climbing difficulty", when the threshold is set too high. From what I've seen around, the average PC threshold setting is around 70-90 percent of the maximum system pressure setting, but the best reference for a particular machine should be, of course, the OEM's service manual (if you can get one).
The adjustment of the PC control threshold setting, while easily performed on a test bench, can become a challenging task in the field. The first and most obvious reason for that would be the reduced access due to the compact nature of modern machinery, but the main challenge is to actually detect when the displacement transition starts to take place. I will describe several techniques, that can be used for this purpose, although the choice of the best technique will depend on the actual machine.
A good reference point to determine when the displacement transition occurs is the moment when the system pressure stops climbing (or even experiences a slight pressure drop in some cases) during a steady load increase. The main difficulty is to create this controlled load increase, which can be performed only on vehicles equipped with a well adjusted braking system. The process is very simple - you install a gauge in the high-pressure line, set the machine in motion at a constant speed, and then increase the pressure by applying the brakes progressively. Upon reaching the PC setting, the pressure climbing rate will decrease or even stop, indicating the moment when the PC kicks in.
Advantages - you use only one pressure gauge, most of the time simple to install using the already existing test ports. The moment, when the pressure stops rising, indicates exactly the displacement transition pressure, independently from the servo mechanism of the motor.
Disadvantages - you will need space and plain terrain to move the vehicle around, the braking system must allow for progressive braking (which, I must say, is rarely the case), you might need to operate the vehicle yourself (which is cool, but can become dangerous).
Another technique you can use to define when the motor starts to swivel towards a higher displacement is direct servo-pressure reading. For most types of controls, the pressure rise in the side of the servo-piston responsible for swiveling it towards high displacement will indicate the start of the PC function. In this case, you can activate the brakes, and slowly increase the system pressure while monitoring both the high pressure and the servo pressure, and noting the high pressure when the servo becomes "alive".
Advantages - the machine remains stationary during the adjustment procedure.
Disadvantages - you will have to give attention to two readings at the same time (requires some practice and decent test gear, preferably wireless). The moment the servo-pressure starts to rise does NOT necessarily indicate the displacement change (this will depend on a number of factors, like the relation of servo-piston areas, presence of bias springs, whether the opposite area is connected to high/low loop side, etc...) This is why you may need to do some research on the motor before applying the technique. For most motors, the pressure rise of 30-50 bar safely indicates the start of displacement transition, but in some cases, it can be as high as 150-200 bar (around half of the PC setting). On some vehicles, operating transmission with brakes ON requires disabling safety features or operating the brake system manually (especially if you use the parking brake, which can be a tricky task if you are not familiar with the machine). It is often difficult to raise the system pressure slowly enough to take accurate pressure readings (in which case you can use the next technique).
When it is impossible to accurately control system pressure, you may resort to the following - instead of controlling the system pressure by controlling the pump or increasing motor load, you adjust the pump's pressure cut-off (pressure limiter) to the desired PC setting level. In this case, all you have to do is screw the motor's PC adjusting screw in till it stops, apply the parking brake and give the pump a "full throttle" (the system pressure will be limited by the pump's pressure cut-off), and then turn the PC adjustment screw out till the rise of the servo-pressure indicates the displacement change.
Advantages - the machine remains stationary and you don't have to worry about precisely controlling system pressure - the pump's pressure limiting function does it for you. You can give all your attention to one pressure gauge - the servo pressure one, which is easy. You work with lower than the maximum system pressure, which is safer.
Disadvantages - basically the same as in the second technique, plus the necessity to re-adjust the pump's pressure limiting system.
And, please, remember - safety, safety, and once again safety! When you test any transmission "against brakes" - make sure there's a reliable and accessible way to quickly stop the engine, there's enough room for the vehicle to "run away", that there's no "unrelated audience" standing around, and there are no "valuables" under the wheels! One slip on the brake pedal - and off you go! And these chocks are not stopping it!
You must understand that the techniques I just described are very basic and should be regarded as but a starting point. It is impossible to cover all possible scenarios in a short blog post, so the best practice is, as always, to get as much technical information on the transmission components as possible, before doing any actual "nut-turning".